
I will cover:
- Why use webflow to build your direct booking website
- Which method should you use to integrate on Webflow
- How customized is the booking engine widget?
- What you need to get started
- How to integrate your booking engine widget on webflow
If you follow these steps, you will be ready to launch!
Why use Webflow to build your direct booking website with MEWs
If you want a simple but not integrated solution, you can use a website builder + booking engine standalone.
If you want an integrated solution, where your booking engine feels like it is part of your website, the winning combo is choosing a CMS (content management system) and a PMS (Property Management Software).
Webflow is very well suited for hospitality websites, because it is easy to use once built, able to integrate with multiple PMS such as MEWS, visual-first and not too expensive (-$30/month).
More specifically:
- Visual and media-first, and this aspect is strategic for hospitality website.
- Very SEO-friendly. Each page, including rooms, properties, cities can be personalized with SEO settings, keywords and meta descriptions.
- Easy to add content (blog, room, property etc) for a business owner without touching any code or struggling to understand how it works.
- Platform-agnostic, you can integrate with any booking platform, and potentially several of them (for example, MEWs and Lodgify). CMS allows you to publish content easily for clients, but also add new rooms with data fields and plug directly into third party platform. The CMS can keep information, to push customized checkout flows. For example, Room IDs, or City IDs, easily added by the customer, to open the booking engine in a personalized way.
Which method should you use to integrate on Webflow
You have three ways to integrate MEWs onto your website. Each one allows you to plug MEWs onto your website in a more or less integrated/seamless way.
- Booking Engine Standalone = external URL
- Booking Engine Widget = Onsite
- Booking Engine API = Onsite
We will focus on one of them: the booking engine widget. This one is really enough if you want something integrated into your website, but don’t want to get into a fully hardcore coded version.
How customized is the booking engine widget?
Basically, what we allow here is for any guests to browse your website, and direct book rooms without being redirected to another page and following his journey onto the site.
- So if your guest browses one room page on your website and clicks on “book now” for example, it opens MEWs booking engine on this room page specifically.
- If he sets specific reservation dates or number of guests on your website, it opens MEWs booking engine with these dates.
- If he adds a coupon code, it opens the MEWs booking engine with prices adapted to the coupon code.
- If he browses the site from a location with a different language, and this local element is strategic for you, it opens MEW's booking engine with the right language.
Personalization in the guest journey is key, and also quite easy to do with MEWs and Webflow.
Okay, let’s get into technical details!
What you need to get started
- A MEWs account (also works if you’re starting the onboarding) and your Hotel Configuration ID
- A Webflow account with a version of your website ready to test the integration (if you need help building your website with Webflow, feel free to reach out)
Need help designing your MEWs website? Book a free office hours call with me.
How to integrate your booking engine widget on webflow
Now, use MEWs documentation side by side with this one and use their code snippet as the only reference to copy paste from.
Install the booking engine loader script
- First, you need to add the script into the site settings. On Webflow, you can go on site settings, then custom code.

- Install the booking engine loader script on the Head Code section.

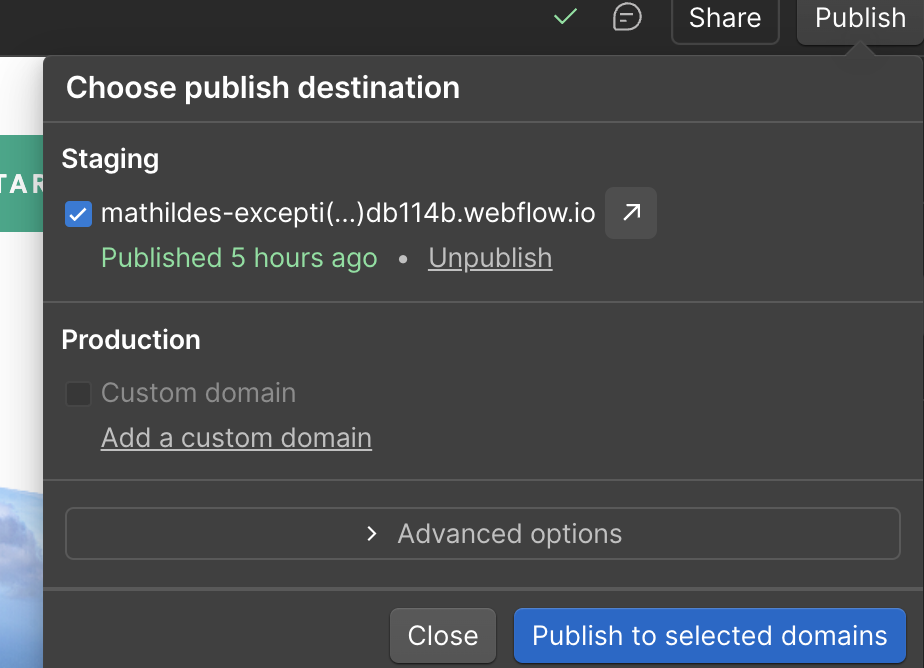
- Load the website by publishing the site onto a staging domain to make sure it is working.
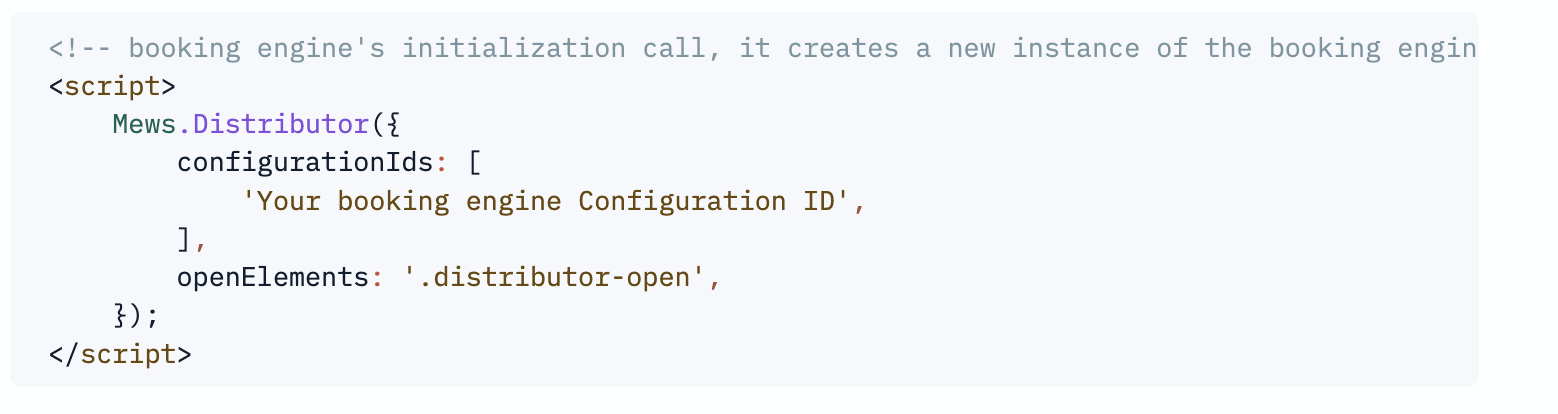
Initialize the Booking Engine Widget
- Initialize the Booking Engine Widget by adding the code snippet in the site settings again. This time, you add the code snippet in the footer code of your website. On Webflow, you can go on site settings, then custom code, then Footer Code and copy paste your code snippet.
- In this snippet, you need to add your booking engine configuration ID. You can find it in Mews Operations:
- Start on the Dashboard (the main screen).
- In the left-hand menu, select Settings -> Services.
- In the section Bookable services, select the service which has the Booking Engine configuration. If there's just one service, select that one.
- On the left, select Booking engines.
- Select the configuration you want to use.
- In the upper section there is a field Identifier. This is your Configuration ID. It has the format aaaaaaaa-bbbb-cccc-dddd-eeeeeeeeeeee.
- Copy Paste your Configuration ID and add it in your Footer Code instead of ‘Your booking engine Configuration ID'.
Now the fun part starts!
Open the Booking Engine Widget from your Website
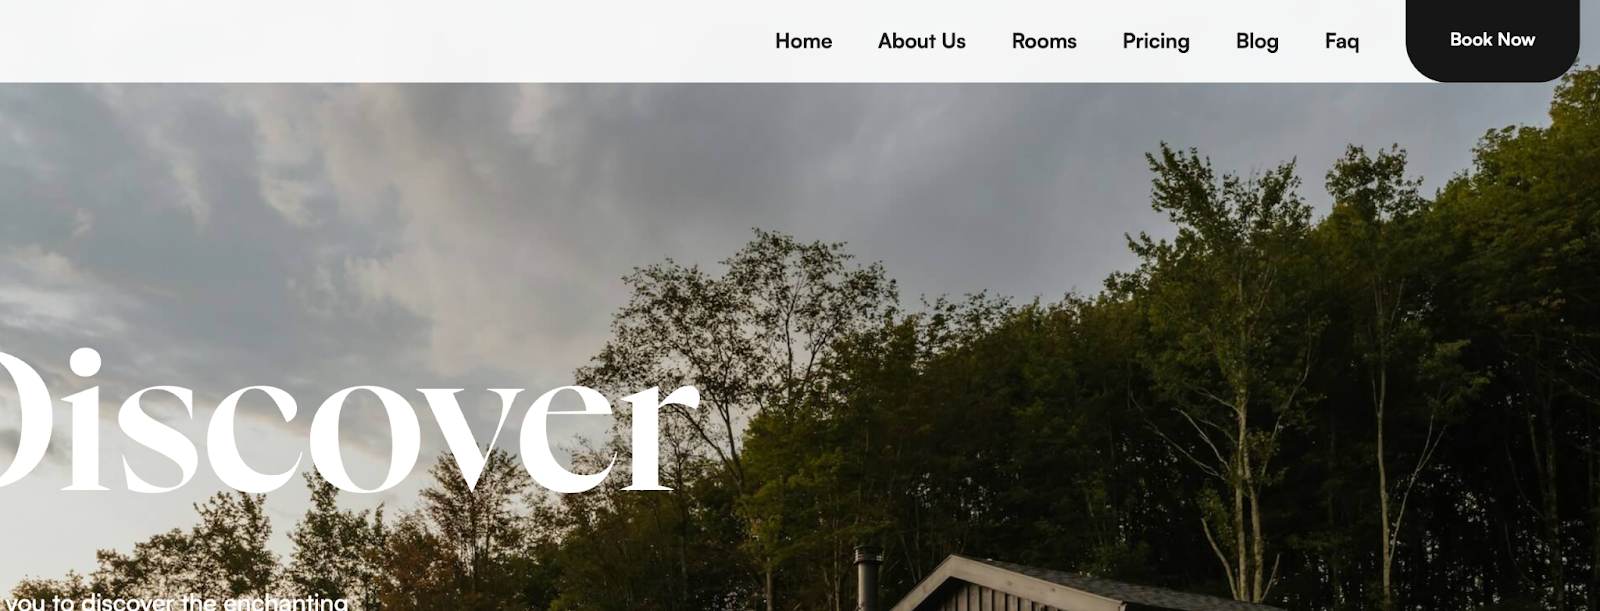
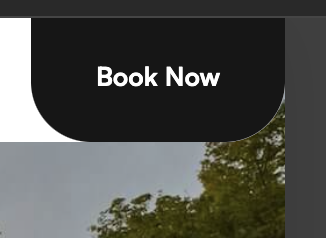
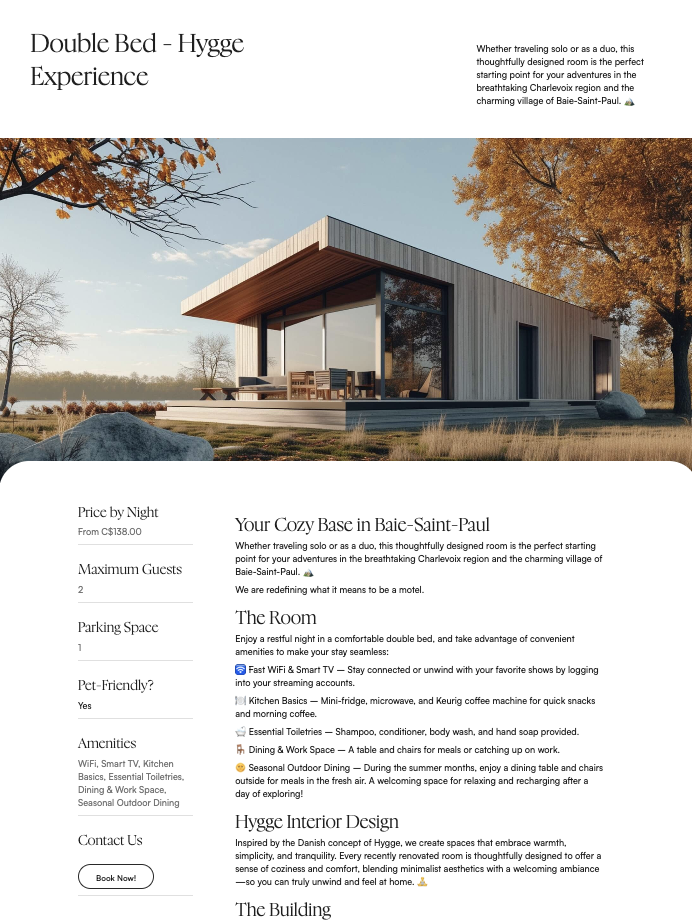
- On your Webflow Designer, let’s say you already have a designed template (check mine if you want), with call to action buttons such as “Book Now”. Like this one below.
What we want is to trigger the button Book Now, so that when I click on it, it “calls” the booking engine widget (the one you added in your custom code site setting) and tells it “hey, open me now!”.
Well, if you check your custom code, you have a line that says “open elements: distributor open.” It basically means “if you want to open the element (=the booking widget), then you need to say “distributor open”.
“Distributor open” is a “class” in HTML language, that we can simply add on our button settings.
In Webflow you can add classes on any design elements of your website. You just have to click on your element, check the “style” section on the right panel, and add a “style selector” called distributor-open.
- In order to add the HTML class on your Book Now button to trigger the booking engine, we will click on the button element and add the class “distributor-open” on the style section.

Open the Booking Engine Widget on Specific Room (same logic for Property or City)
Create a Room Page and a CMS collection referencing MEWs room IDs.
- In order to do this with Webflow, you need to have specific pages dedicated to your Rooms. On this page, you can design a “book now” button or any call to action you want.

- The best way to create them, and be able to personalize the booking engine opening for each room, is with a CMS collection.
- In your CMS collection, you can add a specific field referencing your MEWs Room ID, like this.

- Fetch your Room ID in MEWs by following these steps: Go into Settings > Services > click on “Stay” or Any relevant one > Space Categories > Click on any relevant item > Copy Paste "Identifier"
- Make sure each Room item has its own Room ID.
Add a javascript function into your site custom code to make the magic work
Remember when we said that setting a class called “distributor-open” would call the booking engine to open. We have to create the same situation here, to let the booking engine know that we want to open it but to show specific rooms only.
To do that, we need to: 1) add a new element to the custom code site settings 2) add a new class to the “book now” button on the room page 3) add a custom attribute.
The new element we are using is an API function to call specific information MEWs has on your hotel.
- In your website custom code settings, after the footer code already added, you can add an API function.

- In our situation, our guests browse the room page, and wants to click on book now and see the Room Rates and eventually book. So we will use the function ShowRates(RoomID).

- Then in your front-end, click on your Book Now button on your Room Page Template, and add a class called room-open.

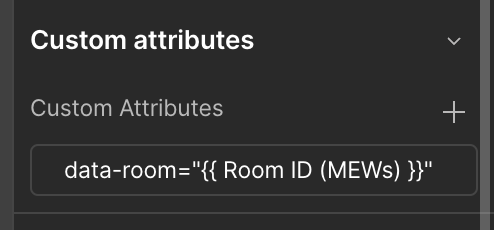
- Now click on Settings, on the bottom right, you will find an element called Custom Attributes. Make sure you add an attribute called data-room=”{{Room ID (MEWs)}}”
- Publish the site on staging, and test it. It should now open your booking engine on the specific Room. Yay!
Want to customize your booking engine with specific languages, reservation dates or number of guests?
You can follow the same steps, adding adequate API functions, and adding a class and attribute to the right elements.
Want help with your MEWs booking engine integration? Learn more and reach out here.